

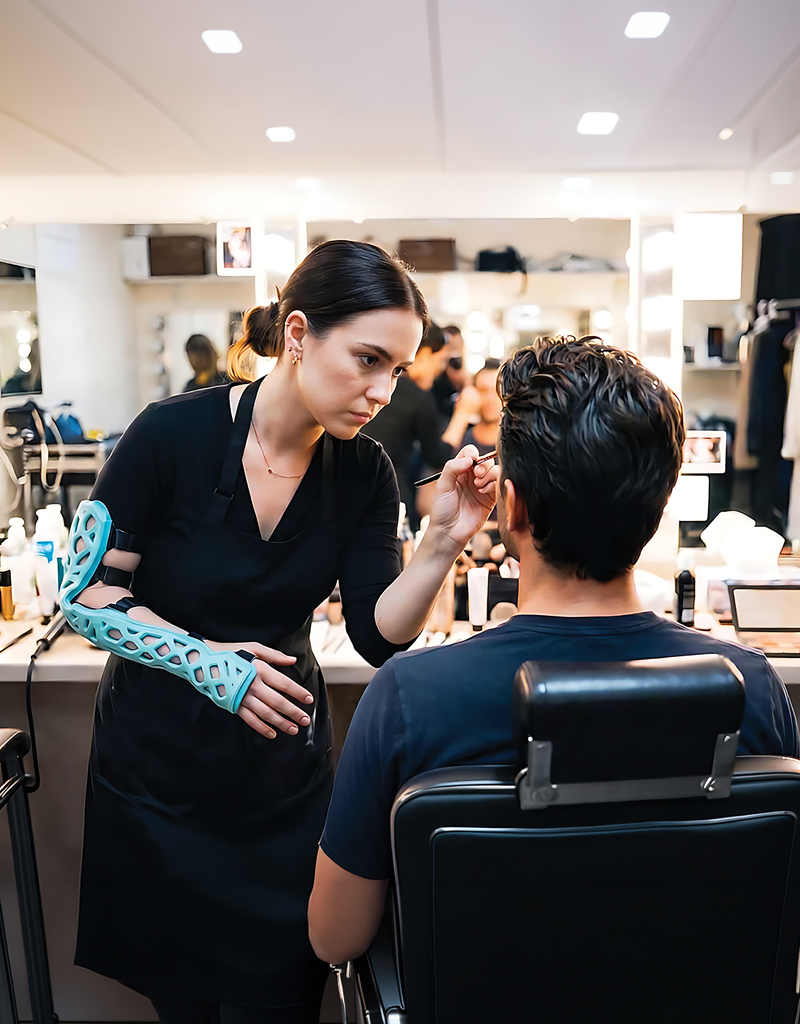


Long Arm Splint
A breathable, removable, and light-cured splint engineered for the immobilization of the upper arm, elbow, and forearm.
INTENDED USE
- Distal humerus fractures
- Olecranon fractures
- Elbow dislocations
- Severe soft-tissue injuries
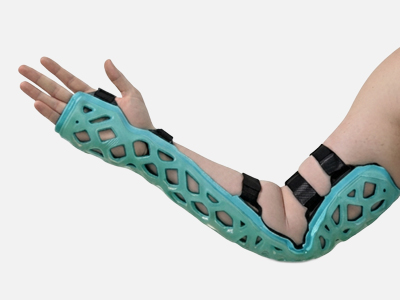
FlexiSplint® Long Arm Splints are acute and interim immobilizers designed to extend from the mid-upper arm down to the metacarpophalangeal (MCP) joint creases.
These non-circumferential splints are engineered to easily accommodate the localized swelling as well as allowing a safe skin examination around the wound area. With the help of hook-and-loop fasteners, it is simple to remove and reapply the splint. It also provides a personalized fit once it is cured with light.
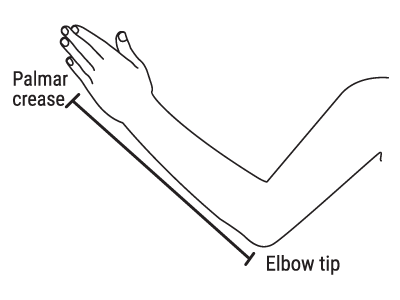
FlexiSplint® Long Arm Splints comes in 3 different sizes : S, M, and L. All of the splints vary in terms of wrist to elbow length. For the best fit of FlexiSplint® Long Arm Splints, taking the measurement of the patient’s hand is necessary before application.
SIZE CHART (in cm)
| Size vs Measurement (Long Arm Splint) |
Elbow tip to palmar crease: |
| S | 30.0 – 32.9 |
| M | 33.0 – 35.4 |
| L | 35.5 – 38.0 |
* Above sizes fit better as per dimensions mentioned in the table.
* However FlexiSplint adapts to an oversize to a certain extend by stretch-ability.
* We advise healthcare professionals to choose the size as per patient’s comfort.
MEASUREMENT GUIDE
APPLICATION PROCESS
FlexiSplint® Long Arm Splints application process is as follows:

Step – 1 : Splint placement (horizontal): Place the ulnar margin of the forearm and hand on the midline of the splint.

Step – 2 : Splint placement (vertical): Ensure that the distal edge of the splint aligns with the MCP crease.

Step – 3 : Strapping: Start wrapping the splint by securing loop A around the hand. The distal edge of the hook & loop fastener should lie just proximal to the MCP crease. Next secure loops B and C over the forearm and loops D and E over the arm. Note: loops are pre-fastened on one end. To secure them, thread them into the other end, loop back and affix to the first end and cut off any excess hook & loop fastener length with scissors.
Final check: Once all 5 loops are secured, check the overall fit of the splint, to ensure it is horizontally in the midline, and that loop A is positioned as precisely indicated above. A properly sized and applied splint should fit as shown in the picture, running from mid arm to palm, covering 40-60% of the circumference of the arm and the forearm.

Step – 4 : Neutral position: The elbow and wrist need to be positioned as per clinical discretion. For instance, one commonly used position involves the elbow fl exed at 90°, the forearm in mid-supination and the wrist in 10-20° extension with the splint not restricting finger movement.

Step – 5 : Curing: Once neutral position is achieved, start by curing over and around the elbow region to reduce patient effort. Subsequently cure the arm region, and sequentially progress below the elbow to reach the wrist and palm regions. Make sure to carefully mold the splint in shape as clinically required. The curing and molding technique is described next.


